Showing posts with label Tip-Tuesday. Show all posts

Tuesday, August 22, 2017

Tip Tuesday – Using Cricut Cuttlebug

Happy Tip Tuesday! Here are 5 tips for using the Cricut Cuttlebug:

1. Use all types of manufacturer’s dyes or embossing folders including: Close to my Heart, Quickutz, Sizzix, and Spellbinders.
2. Extend the life of your plates by periodically flipping them over.
3. Don’t force items through the Cuttlebug, instead, check placement of your items.
4. Prevent paper cracking/ripping by rolling the plates through slowly.

5. Experiment with the placement and “sandwich” of your plates for each brand.

I am still new to my machine, do you have any tips?


Tuesday, August 15, 2017

Scrapbooking Supplies 101

So, you’ve decided to start scrapbooking or cardmaking. Welcome to the world of paper crafting! It might be overwhelming at first, but you don’t need to buy everything available to get started. Here are a few items I recommend when starting your scrapbooking and cardmaking stash.

  1. Paper
    • Cardstock – There are many options available for cardstock. Personally I like a thick card stock to use for card bases, background colors, frames, and more. The CTMH cardstock is my favorite, but I might be biased.
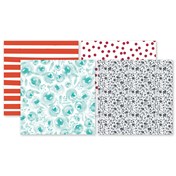
    • Pattern Paper – This isn’t a necessity, but pattern paper really makes your projects stand out. You can use pattern paper for embellishing, backgrounds, and decorative accents. There are a ton of options for pattern paper from CTMH that change frequently.
      product image
      product image
  1. Scissors/Paper Trimmer
    • Scissors – Scissors are a key tool for any paper crafter. You can always tear your paper, but I prefer a more finished look. My favorite scissors are the Non-Stick Micro-tip Scissors from CTMH. It gives me the sharpness I need and the fine tip allows for fussy cutting small shapes.
    • Paper Trimmer – This isn’t a necessity, but a paper trimmer will give you a straight cut that you might not be able to get with your scissors. At least I know I can’t cut a straight line (didn’t I learn that in elementary school)! https://kraftykank.closetomyheart.com/Retail/Product.aspx?ItemID=7190&ci=5984https://kraftykank.closetomyheart.com/Retail/Product.aspx?ItemID=10307&ci=9391
  1. Adhesive
    • Glue – You can use the old fashioned glue stick to adhere your photos and paper.
    • Tape Runner – I prefer a tape runner for my adhesive. It is much easier, cleaner, and doesn’t crinkle the paper. https://kraftykank.closetomyheart.com/Retail/Product.aspx?ItemID=9772&ci=7785
  1. Album
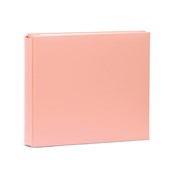
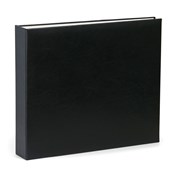
    • When all is said and done, you will want an album to put your scrapbooking pages in for you and others to enjoy viewing. CTMH has many album options including post and D-ring. Z5308https://kraftykank.closetomyheart.com/Retail/Product.aspx?ItemID=9437&ci=6731
  1. Embellishments/Stickers
    • Embellishments aren’t a necessity, but really bring your projects to life. CTMH offers embellishment kits as well as pre-determined kits for cards and scrapbook pages.


I hope this small list gets you started on your paper crafting journey. If you need any assistance or have any questions feel free to contact me. What are some of your must have items for beginners?


Tuesday, July 4, 2017

Stampaganza and Stamping Tips

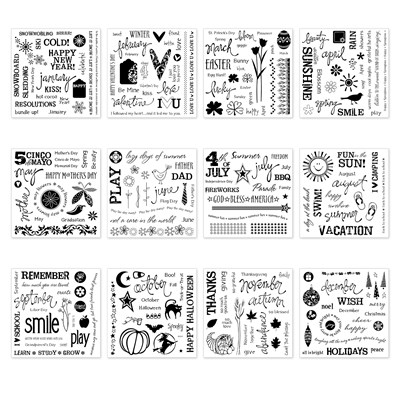
It’s already July, meaning it’s time for Stampaganza! All month long, buy two stamp sets at full retail price (excludes Stamp of the Month), and get a third set FREE! CTMH even brought back some expired stamp sets for this awesome deal.

Don’t miss this awesome Word Puzzle Bundle (CC1300) for just $143.60, that’s almost a $72 savings!
Recommended My Acrylix® blocks: 
1" × 1" (Y1000), 1" × 3½" (Y1002), 2" × 2" (Y1003), 1" × 6½" (Y1005), 3" × 3" (Y1006), 2" × 3½" (Y1009), 2" × 6½" (Y1010)


Did You Know? 
  • You should season your stamps before using them? There are a few options including rubbing a pencil eraser across them, rubbing the stamp across the stamp pad and stamping until a clean impression appears, and using a StazOn ink to apply a coating on the stamp. 
  • Pick up your stamps using the block instead of applying it to the block with your hands to get a straight adhesion. However, if you want to curve your stamps you can do that too!
  • Acrylix® stamps allow you to see through to the paper, knowing exactly where you are stamping. You can even re-stamp to create a crisp image.
  • Don't be afraid to cut your stamps apart to rearrange words. I love stacking my phrases instead of leaving them in a line. 
  • Use the foam that comes with the stamp sets or another foam piece under the paper you are stamping to create a cleaner image. 
  • If your stamps don't stick to your My Acrylix® blocks any longer, wash them with soap and water. 

For more stamping tips head-on over to the CTMH blog. Post your stamping tips in the comments below!